Ricoh MFPs - Set up macOS to print to Ricoh MFPs
Ricoh MFPs - Set up macOS to print to Ricoh MFPs
Set up macOS
These instructions are applicable to all Mac computers running macOS or OS X 10.6 or later. The steps required to set up your Mac to print to a Ricoh multifunction device (FollowMe) are described below:
- Download the printer drivers for Ricoh devices from the following website:Ricoh_PS_Printers (https://support.ricoh.com/bb/pub_e/dr_ut_e/0001318/0001318428/V1800/Ricoh_IM_C3000_C3500_C4500_LIO_1.8.0.0.dmg)
- Install the drivers and follow the instructions of the setup (user password is required).
- Open the printer settings via → "System Settings" → "Printers & Scanners" and open the menu with + to add a new printer.
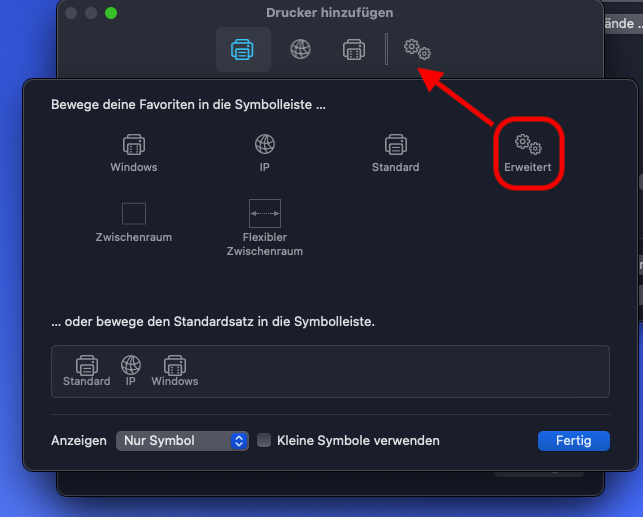
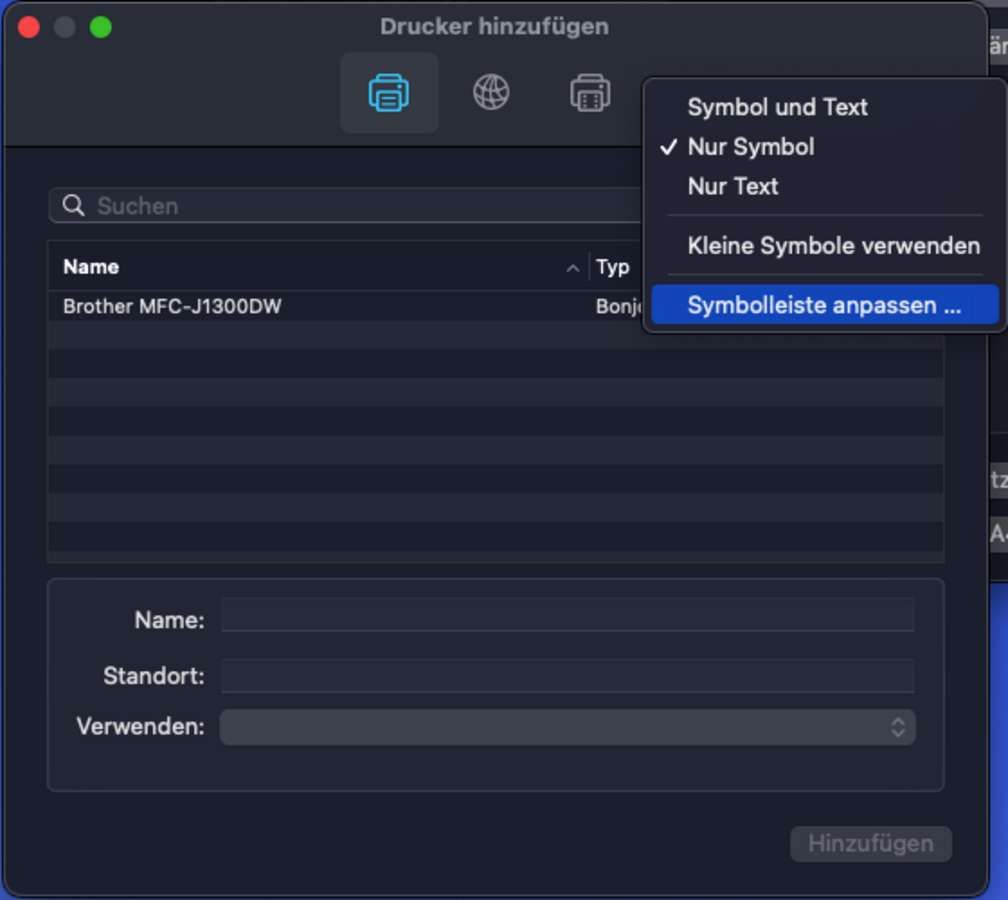
- Right-click next to the navigation icons on the empty area and select the menu item "Customise toolbar ..." (see picture).

- Select the icon "Advanced" from the new window and drag it into the bar of the window behind it, this is the bar of the window from which you previously called up the menu. Confirm with "Done".
- Click on the menu item "Advanced".
- Make the following settings:

- Type: Windows printer via spoolss - Device: Other device - URL: smb://ricohmfg01.w2kroot.uni-oldenburg.de/FollowMe_macOS - Name: FollowMe_macOS - Location: - Use: Select software...
In the window that opens, search for the driver "RICOH IM C4500 PS" and confirm with "OK". 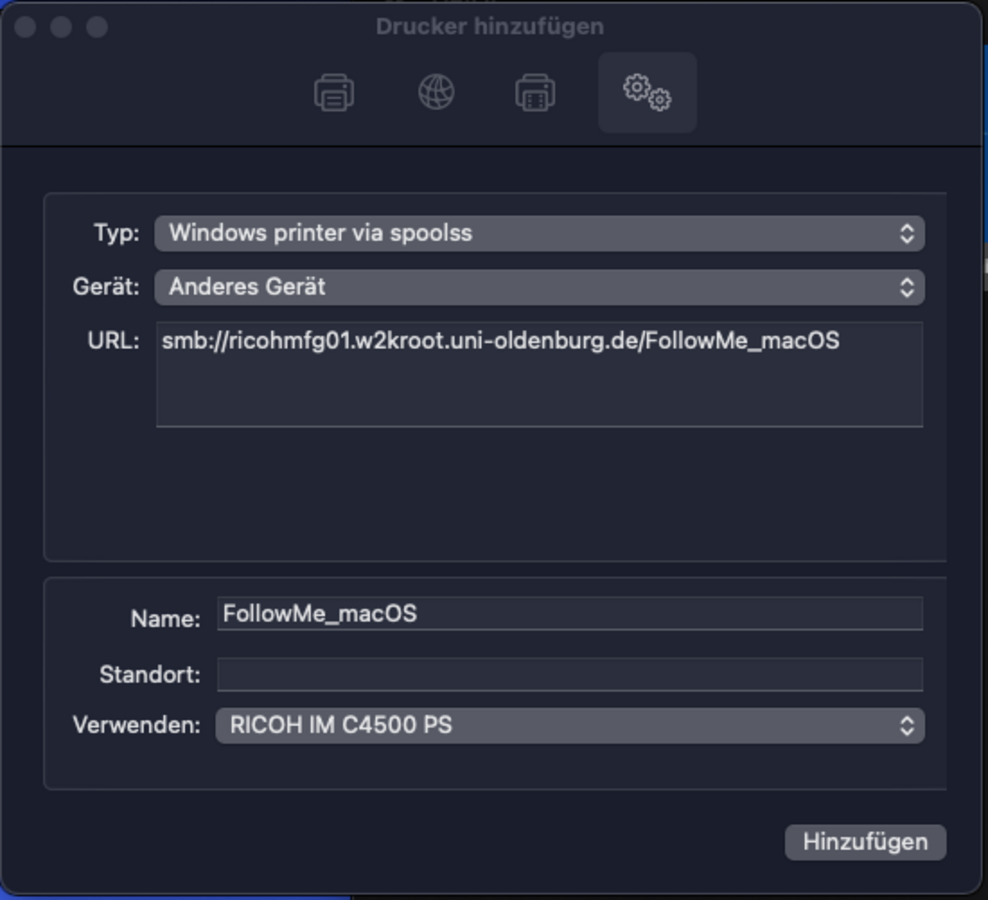
- Click on "Add" to install the printer.
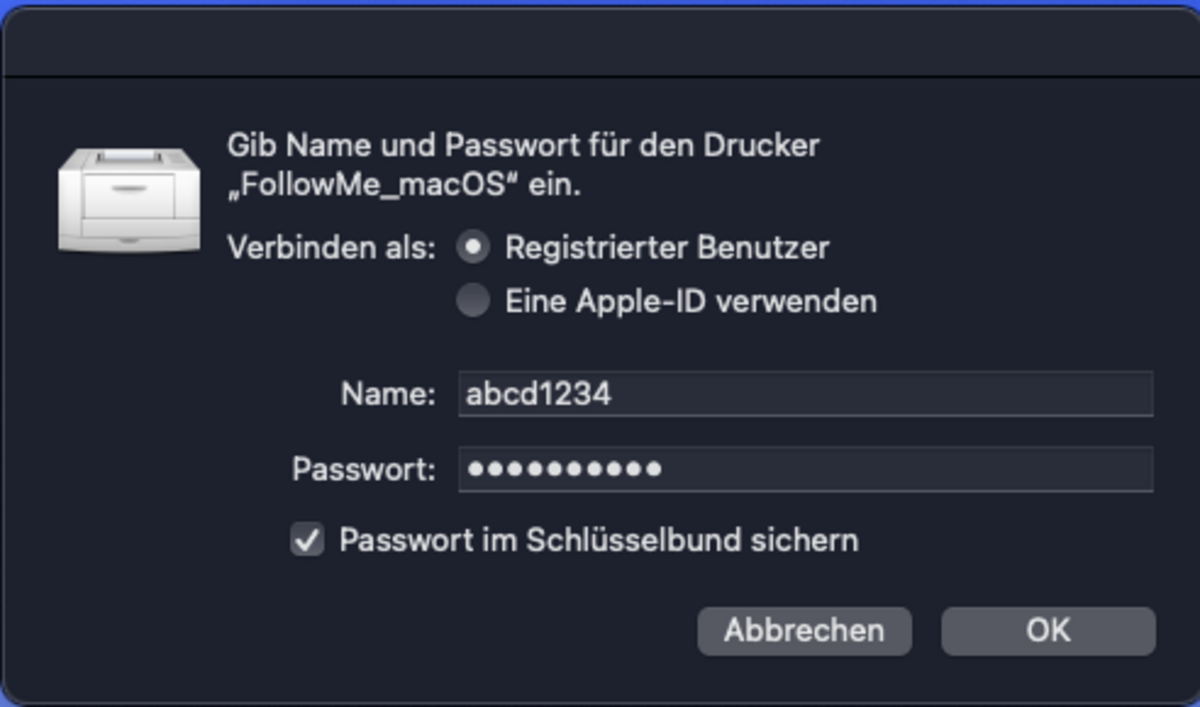
- When printing the first page, enter the user data of the university login (in the form: abcd1234). If necessary, you can save this data in the key ring. In this case, please note that if you change your password for the university account, you will also change the password stored in your key ring for FollowMe.

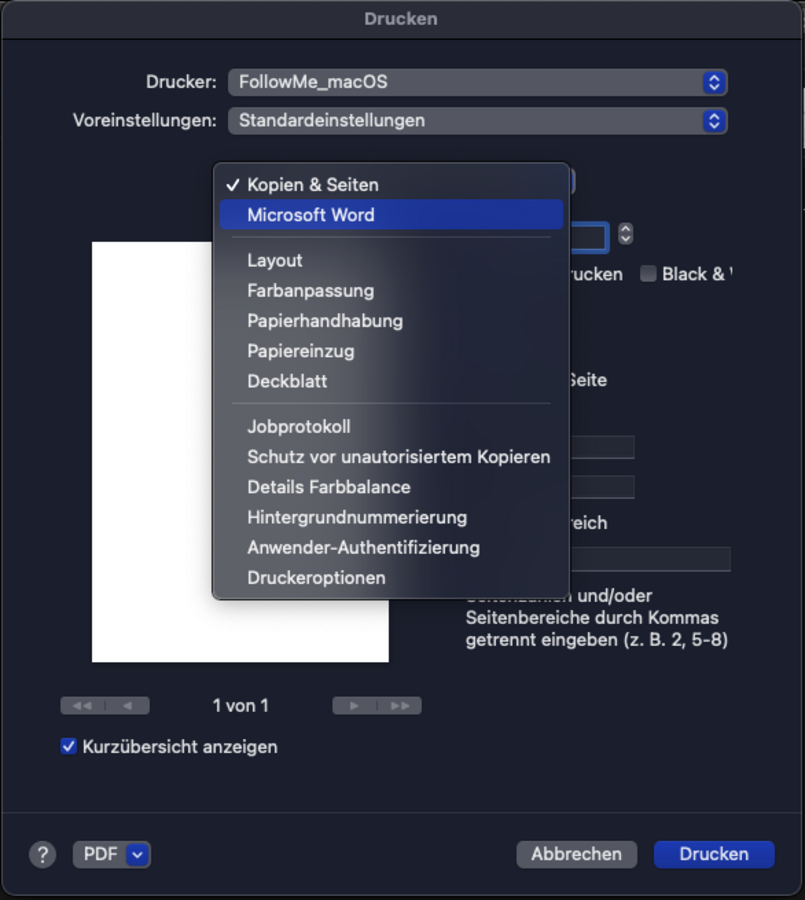
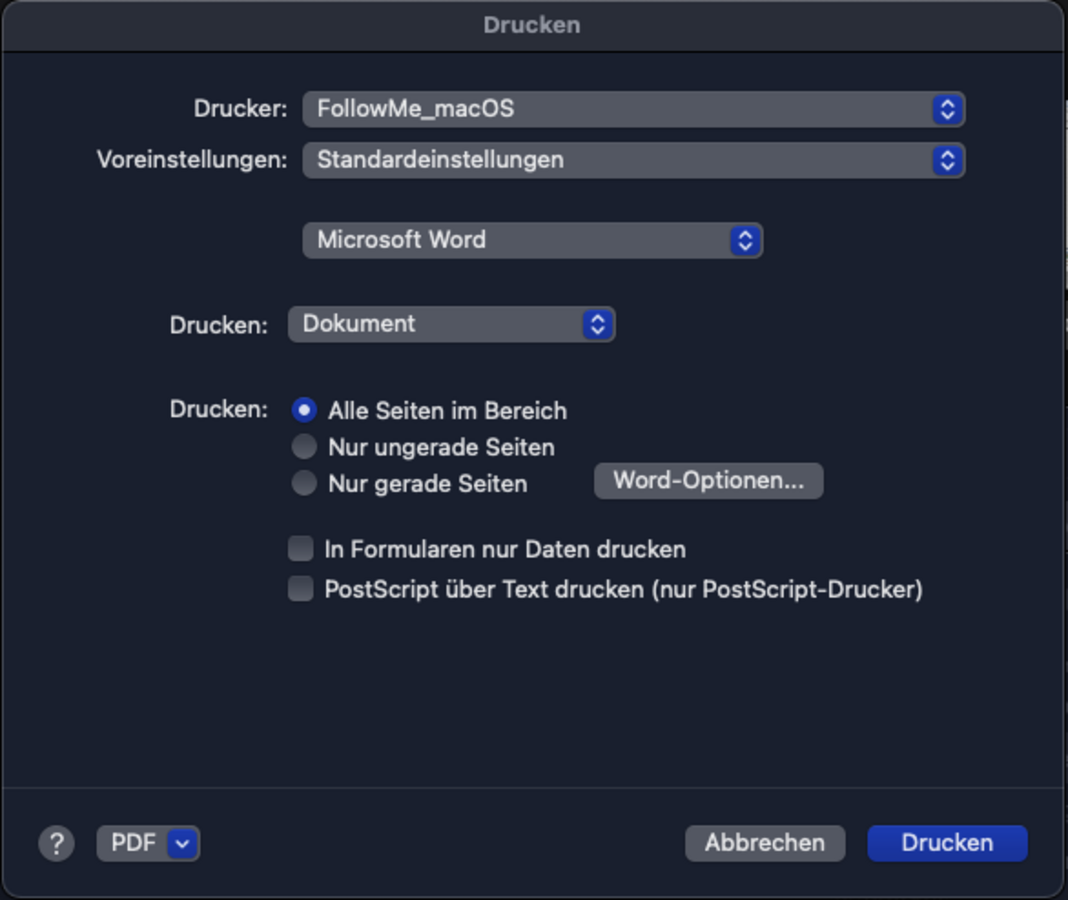
Printer options
You can call up the printer options as follows. In the print interface, these can be accessed via a combo box: